CircuitGizmos

Electronic Products for Creative Minds

  • Home
  • Gizmo Store/Products
  • Documentation/Datasheets
  • Projects/Libraries
  • GizmoBlog
  • Services/Contact
    • Design
    • Contact Gizmo!
  • Your Gizmo Cart
    • Your Account

December 28, 2018 by robert Leave a Comment

Workbench Retro Computer Pt. 2

Workbench Retro Computer Pt. 2

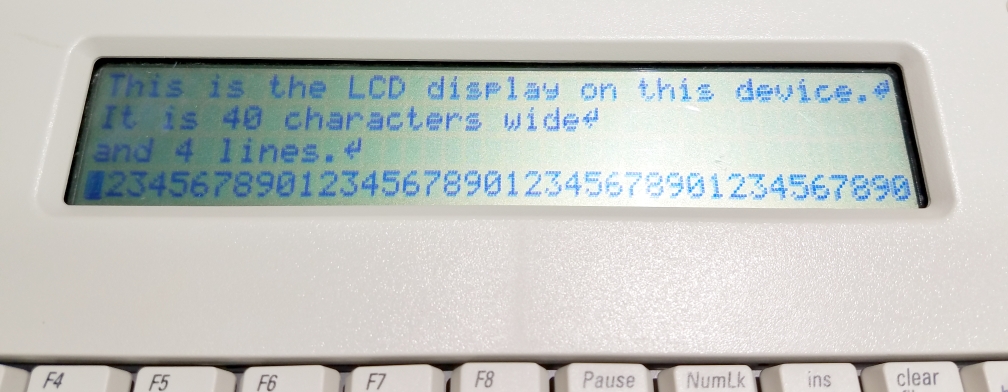
TL;DR; Adding HDMI output and USB keyboard input to the Workbench Retro Computer using a Raspberry Pi.

There is a project called PiGFX. This project converts a Raspberry Pi into a serial terminal. https://github.com/fbergama/pigfx?fbclid=IwAR1-AOMMtR0iOuaQAmUgeQPbty2tmBa8ILsbNYOb5v-wPQC_UYzudv06IYY

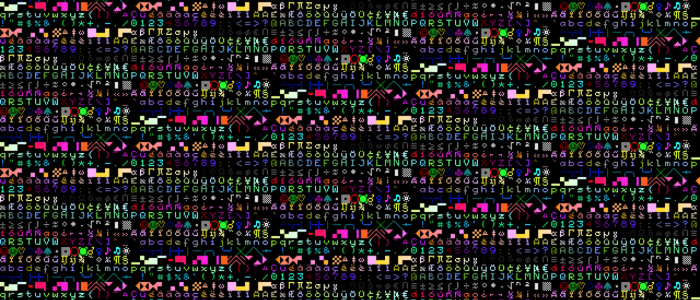
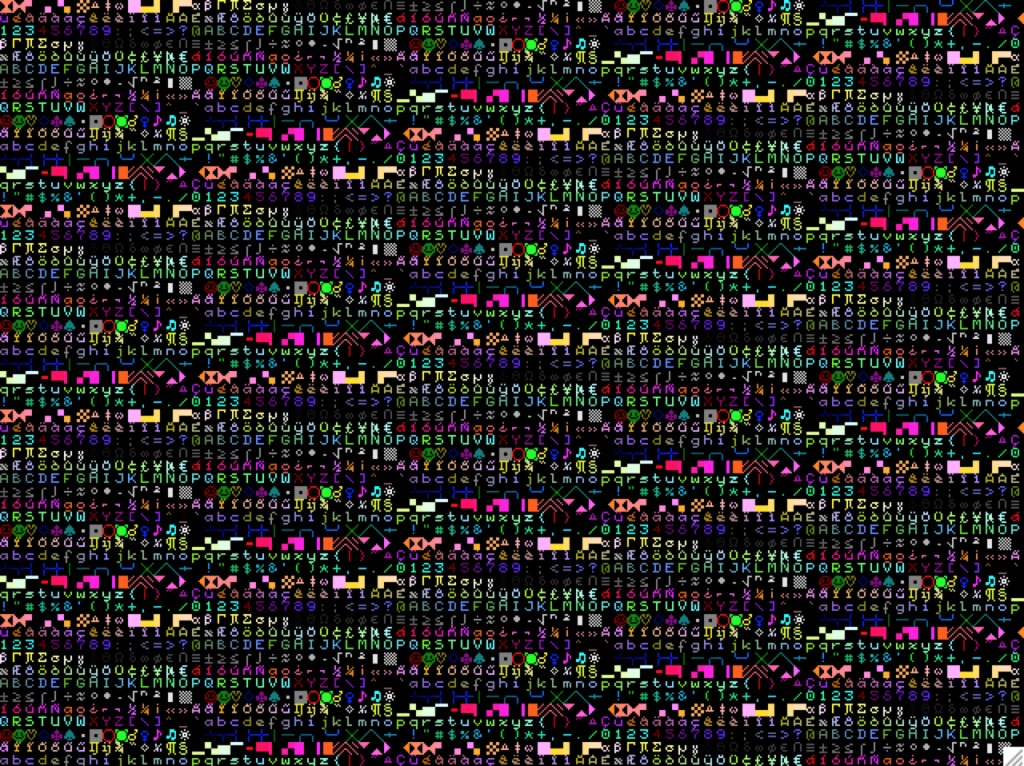
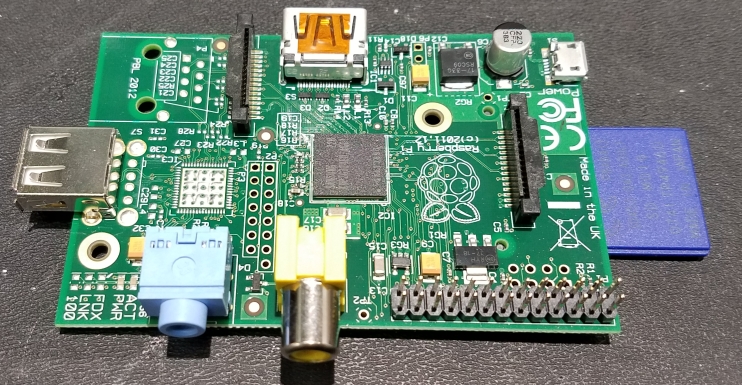
The Pi has an HDMI port that can be connected to an LCD monitor to display a rather colorful output.

From the project description:

“PiGFX is a bare metal kernel for the Raspberry Pi that implements a basic ANSI terminal emulator with the additional support of some primitive graphics functions. It can be driven by pushing characters to the raspi UART. Additional functions like changing text color, moving the cursor or clear the screen can be invoked via ANSI escape codes. The result is that you can easily add an HDMI display output to your embedded project without the hassle of directly generate the video signal.”

Essentially this Pi and the firmware loaded into it can be split into two distinct functions. With a USB keyboard attached to the Pi, characters typed are sent out a 3.3V serial port. Any serial characters received on the serial port of the Pi are displayed on screen (the HDMI output).

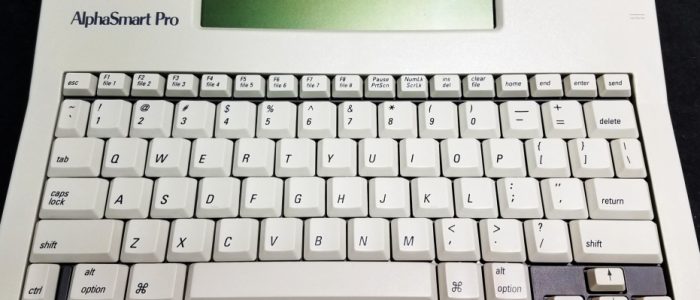
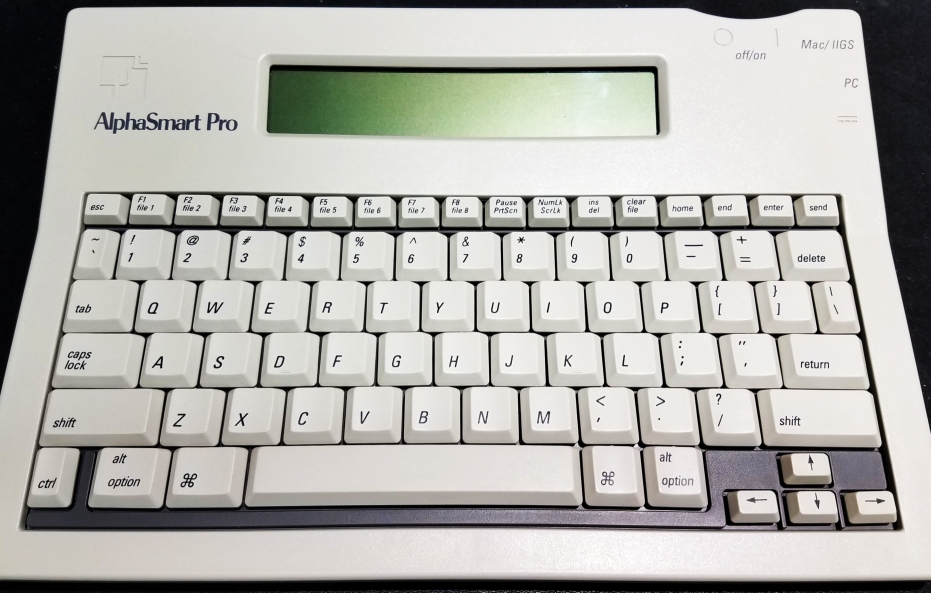
The USB-keyboard-to-serial function of the PiGFX hardware/software is of secondary importance in this project, as the former AlphaSmart keyboard will be decoded to provide the serial stream.

Old Pi

The serial-to-HDMI is the essential purpose for the Pi in this project. It might be seen as wasting a lot of processing power using a Pi in this way, but it was an under-powered Pi to begin with, and this is still a low-cost way to add an HDMI “video card” to this project.

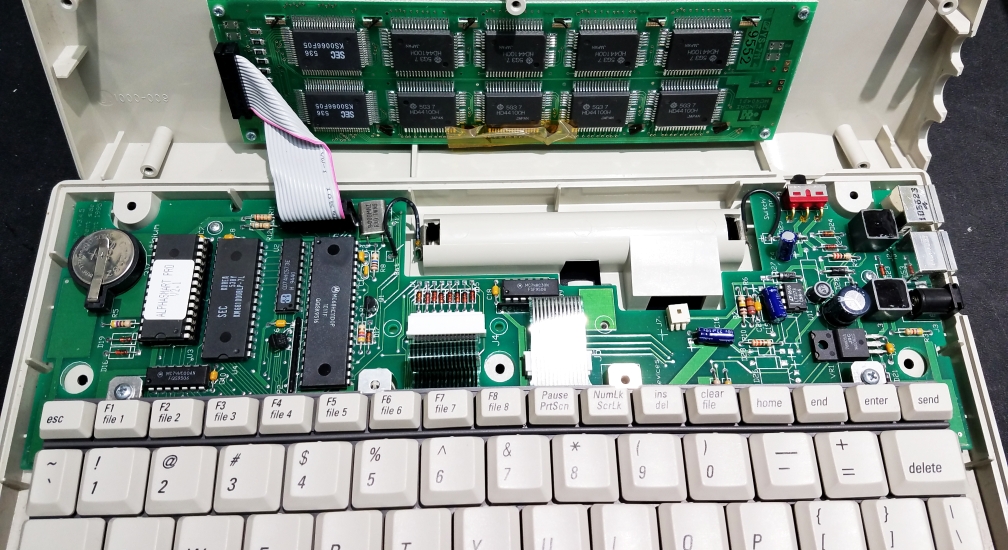
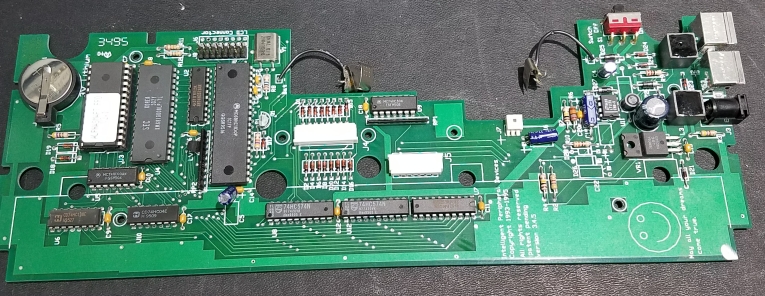
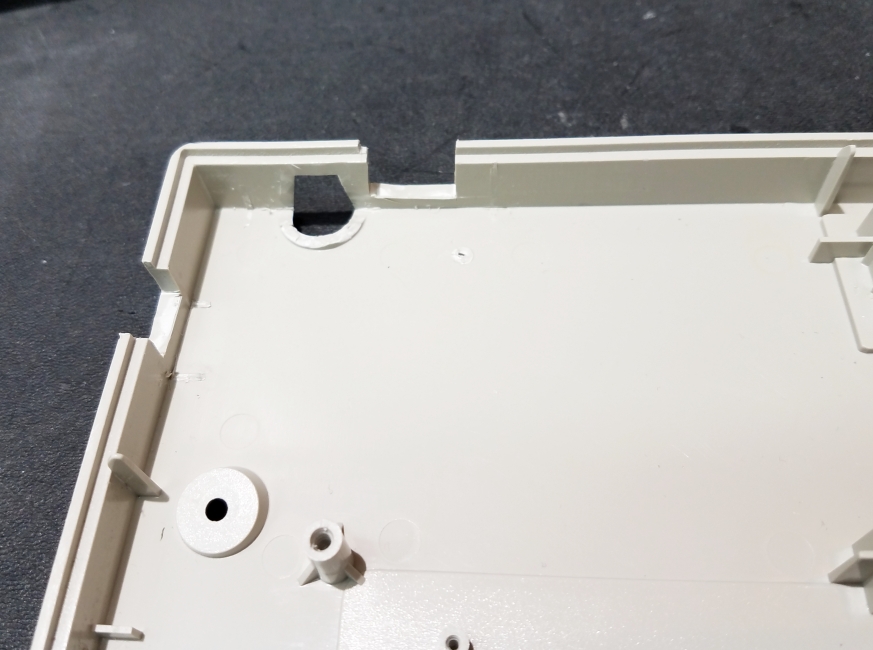
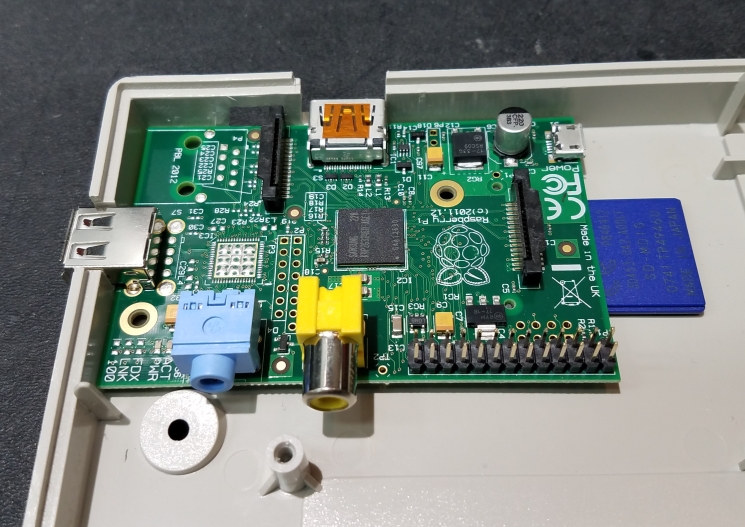
Gotta pick a place to begin, and this upper left corner should work OK. I had to carve away some plastic and notch the sides to get it to fit.

Upper left of the case

The Pi fits in the case rather snugly.

Pi in place

Next blog is the firmware for the Pi to make a terminal.

Filed Under: Uncategorized Tagged With: raspberry pi, retrocomputer

December 28, 2018 by robert Leave a Comment

Workbench Retro Computer Pt. 1

Workbench Retro Computer Pt. 1

TL;DR; I’m repurposing these keyboard+cases into a programming and interfacing tool that I can use much like a flexible 8-bit home computer. Serial input/output, HDMI display, more.

I stumbled onto a couple of items called AlphaSmart Pro. At first glance I thought that they were some home computers from the 1980s. 

AlphaSmart Pro

They look a lot like the 8 bit computer-in-a-keyboard that were prevalent at that time. Look at what Google gives you when you search images for 8 bit home computers:

Google image search for 8-bit home computer

The AlphaSmart Pro wasn’t a 1980s general-purpose 8 bit home computer. It has a lot of the 8-bit guts to have been a home computer – 8-bit processor, RAM, ROM, etc. The AlphaSmart Pro was instead used to type text away from a PC and then return to the PC and upload that text through a PS2 keyboard port. Here is a bit of info from Wikipedia: https://en.wikipedia.org/wiki/AlphaSmart

There were quite a few of those 1980s computers that I had thought would be great to have, and I’ve even had a few come through the lab. I did have a TRS80 Model III at one point that I used as an interface (controller) to some electronics. I think that a small 8-bit style of computer would be nice to have on my workbench. Something that can give me I/O lines to control, serial signals, etc.

Eventually it might be a front-end for several different retrocomputer projects. I recently received a single board Z80 computer: https://hackaday.io/project/159973-z80-mbc2-4ics-homemade-z80-computer The z80 was the architecture that I did the most assembly programming on. I have some 6502 chips in storage, too.

Besides the Z80 and 6502 computer modules, this project will be great for interfacing to the CircuitGizmo MicroMite devices. These all run BASIC and are a 32-bit implementation of retrocomputers. I use these at my bench quite often.

CircuitGizmos Micromite devices

Once the AlphaSmart board is removed from the case there will be plenty of room to stuff a couple of PCBs to do the jobs that I want. 

AlphaSmart Pro innards
Removed AlphaSmart board

The LCD will come in handy for some “macro functions” like displaying the current baud.

4 by 40 character LCD

I have an old Raspberry Pi (first version, no Ethernet) that I can use for HDMI output.  (See next post)

Filed Under: Uncategorized Tagged With: 6502, alphasmart pro, micromite, raspberry pi, retrocomputer, z80

A Ton of Documentation

Open all | Close all

Projects made by Gizmo, Friends, and Members

open all | close all

Recent GizmoBlog Musings

  • Altair 8800 using a ColorMax!
  • Re-energizing the ColorMax, Pt. 3

Visit us!

  • Facebook

Electronic Products for Creative Minds

CircuitGizmos is your source for electronic products that help you create your embedded projects. Here at CircuitGizmos.com you will find a friendly store filled with creative products and all of the documentation that you need to use these gizmos.

We create devices that we believe make electronics fun, but we also know that our products are used for professional designs. For decades we have designed products for commercial, military, and medical industries. Our gizmos here are great for engineers and hobbyists alike.

Copyright © 2008+ CircuitGizmos, L.L.C. All rights reserved

Image already added

Recently Viewed Products

Copyright © 2025 · Generate Pro Theme on Genesis Framework · WordPress · Log in