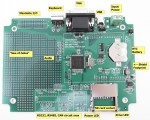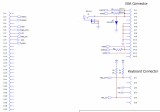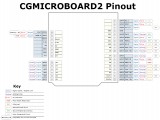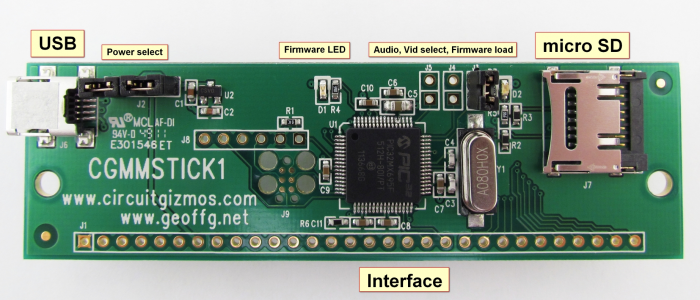

CGSIMMSTICK1 connection information.
The power select jumper nearest to the USB jack (left one if you hold the board so that you can read the silk-screen text) connects 5V USB to the 3.3V regulator to power the microcontroller.
The right jumper connects the 5V line on the 30-pin row to the 3.3V regulator so that J1 can power the microcontroller.
Both in place puts 5V USB onto the J1 30-pin connector.
The CGMMSTICK1 can be powered by a PC USB connection, but it can also be powered through the USB connector by using a wall-wart or car power adapter that provides +5V via a USB mini-B plug. Things such as cell phone chargers for AC (wall) use, or car cigarette lighter chargers will work if they provide enough current and a regulated +5V.

J5 is audio out – square pad is signal, round is ground.
J4 is video select. Open is VGA. insert a wire link for composite video. Setting is tested on powerup.
J3 with a header in place is firmware reload. Put the header in place and then power up the CGMMSTICK. The bootloader will then run.
J8 and J9 are PIC32 programming headers used by the factory.
D1 – Green “Firmware” LED.
D2 – Blue SD card access LED.
Typical Digital Output Electrical Characteristics
Output Low Voltage: 0.0 to 0.4V
Output High Voltage: 2.4 to 3.3V
Maximum current draw/sink on any I/O pin: 25mA
Maximum cumulative current draw/sink for all I/O pins: 200mA (150mA derated)
Maximum voltage for 5V tolerant open collector pins: 5.5V
Typical Digital Input Electrical Characteristics
Maximum input voltage, normal pins: 3.6V
Maximum voltage for 5V tolerant input pins: 5.5V
Voltage range for a logic low input: 0.0 to 0.66V
Voltage range for a logic high input: 2.64 to 3.3V
Voltage range for a logic low input – 5V tolerant inputs: 2.64 to 5.5V
Analog input voltage range: 0.0 to 3.3V
